The YouTube Affiliate Review Video Structure That Converts
Most affiliate review videos lose viewers in the first 30 seconds. This beat-by-beat structure fixes that — turning a raw recording into a trust-building video that sends viewers to the description link.
Most affiliate review videos don't fail because the product is bad, the creator is dull, or the thumbnail is weak. They fail because the video has no structure. The viewer lands, hears a 45-second intro about who you are and what you're going to cover, and clicks away before the actual review begins. YouTube logs that early exit, drops the video in recommendations, and the affiliate link earns nothing.
The fix isn't a better camera or a more animated delivery. It's a repeatable framework — a sequence of beats that earns viewer attention in the first 30 seconds and holds it through to the verdict. This guide lays out that framework: 7 beats, in order, with timing guidance and the rationale behind each one. Use it as a script template, a filming checklist, or an editing map. Whether you're making your first affiliate review or your fiftieth, the structure is the same.
Why Structure Is the Difference-Maker
YouTube's algorithm rewards one thing above almost everything else: watch time. Specifically, audience retention — the percentage of a video that viewers actually watch. A video with high retention gets pushed to suggested feeds and search results. A video where viewers bail at 0:28 gets buried, regardless of how good the product is or how confident the creator sounds.
Affiliate videos have a compounding problem. The viewer's intent is research, not entertainment. They arrived because they're deciding whether to buy something. That means they'll leave the moment they feel like they're wasting time or being sold to rather than informed. A bad structure — one that front-loads the creator's background, buries the demo, or glosses over negatives — reads as a sales pitch, not a review. The viewer closes the tab before the CTA ever appears.
Structure solves this at every level. A strong hook converts the first-10-second drop-off. A credibility beat earns trust without a five-minute monologue. A real demo section creates the middle-video retention spike that signals quality to YouTube's systems. And an honest pros/cons section keeps skeptical viewers from leaving right before the verdict. Every beat exists because without it, there's a predictable viewer exit point. Think of the 7-beat structure as a series of retention gates — each one keeping the viewer inside the video long enough to reach the next one, and ultimately the affiliate link.
For a broader look at the strategy behind YouTube affiliate content — niche selection, keyword research, link placement — see our YouTube affiliate video guide, which covers the full channel strategy that this structural framework lives inside.
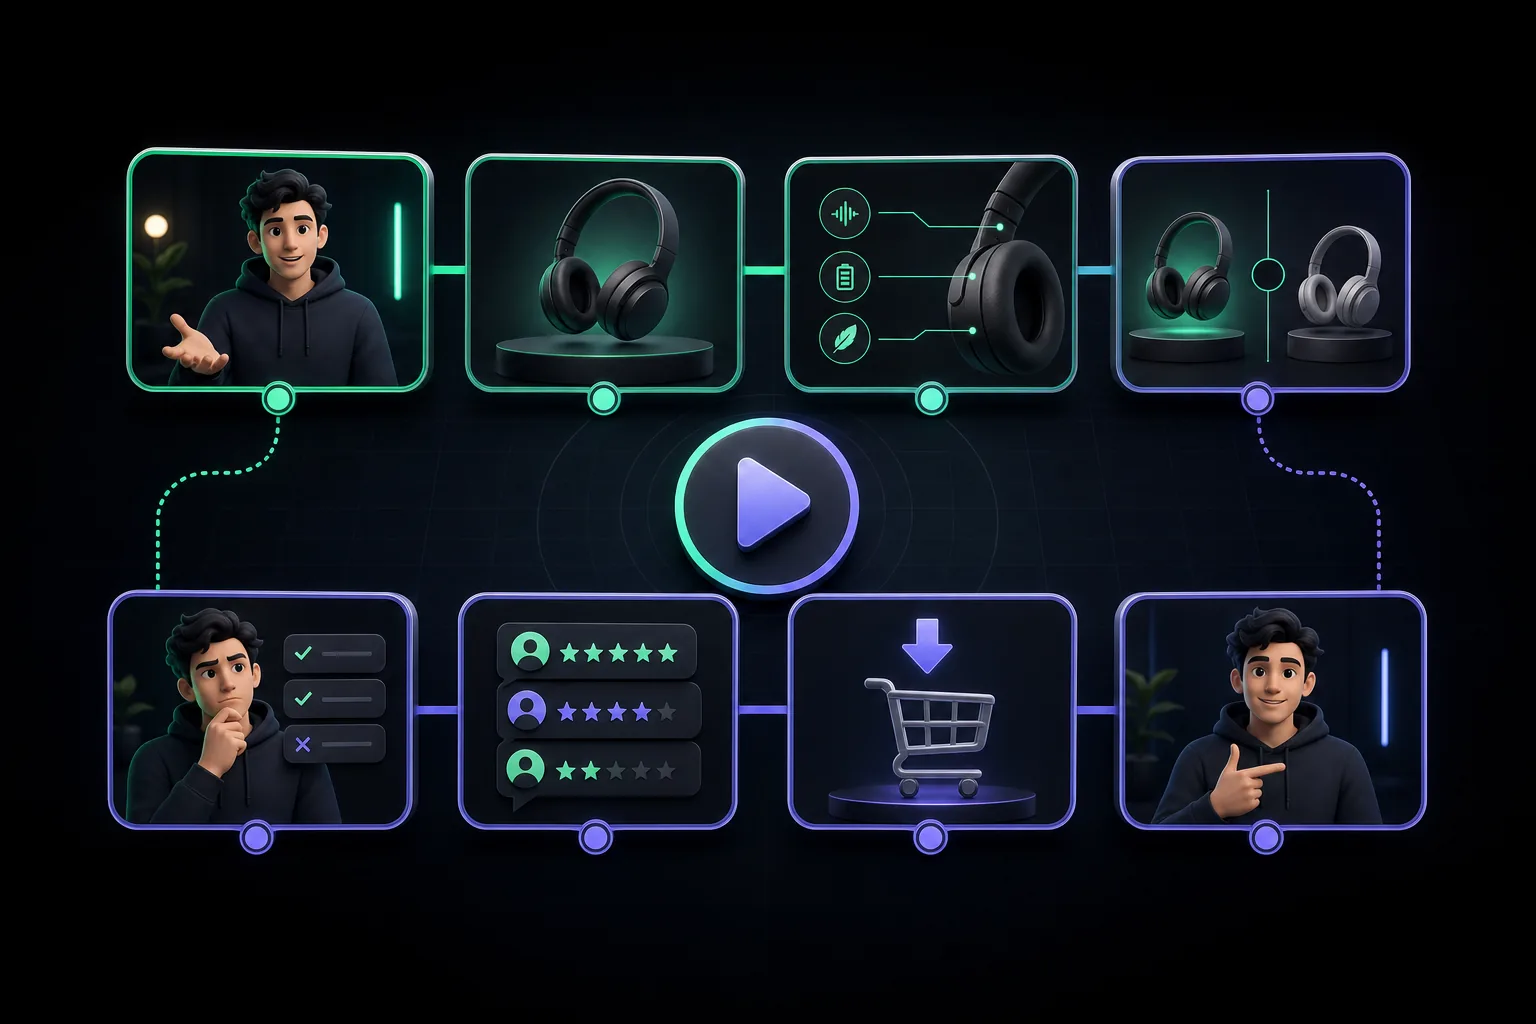
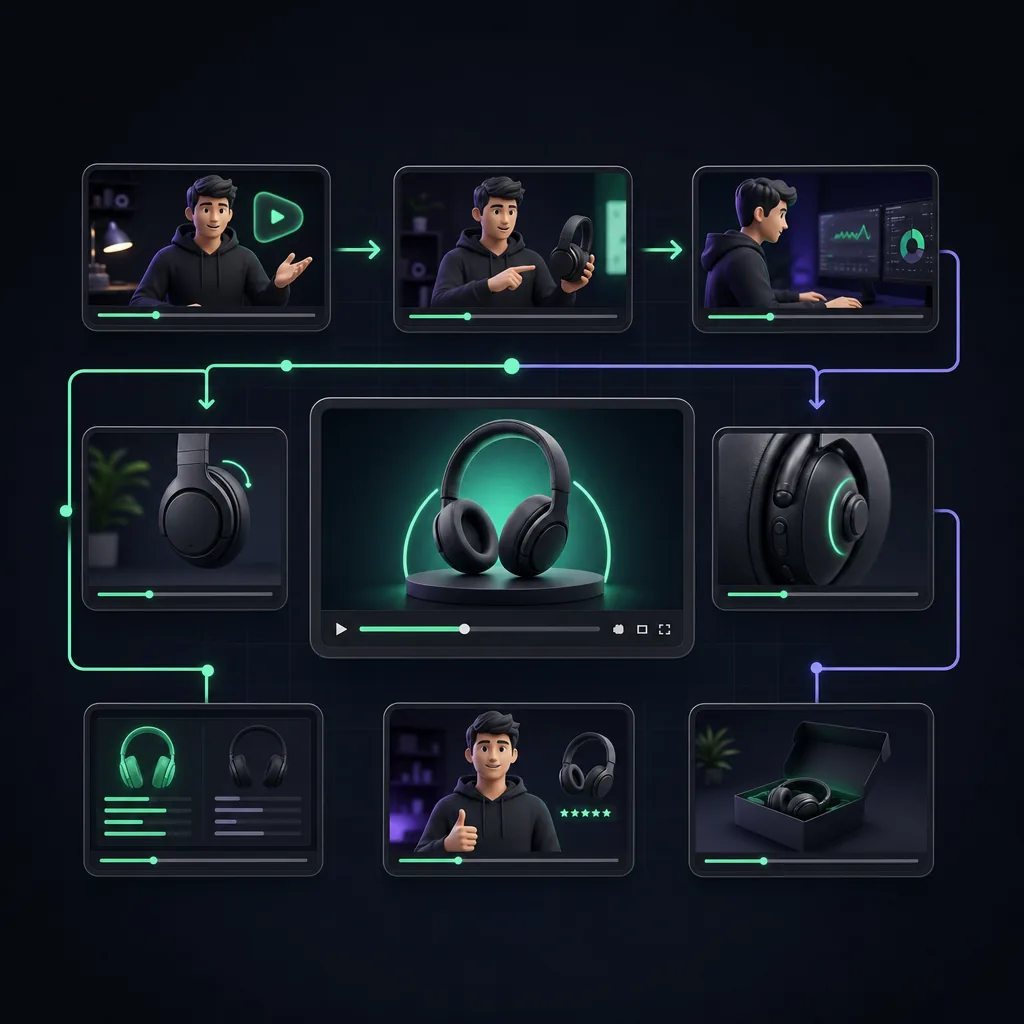
The 7-Beat Review Structure
Before drilling into each beat, here's the full structure at a glance. These timestamps are for a 10-to-12-minute review, which is the sweet spot for most affiliate review niches. Adjust proportionally for shorter or longer videos — but keep the sequence intact.
| Beat | Timestamp range | Goal |
|---|---|---|
| 1. Hook | 0:00 – 0:30 | Stop the scroll; give the viewer a reason to stay |
| 2. Quick credibility | 0:30 – 1:00 | Establish why your opinion is worth watching |
| 3. Product overview | 1:00 – 2:30 | Give context without replacing the manual |
| 4. Hands-on demo | 2:30 – 7:00 | Show the product working in a real scenario |
| 5. Honest pros and cons | 7:00 – 8:30 | Build trust with balanced, specific feedback |
| 6. Verdict and CTA | 8:30 – 9:30 | Clear recommendation + affiliate link prompt |
| 7. End screen + chapters | 9:30 – end | Maximize watch-session length and discoverability |
Each beat has a distinct job. Skipping one doesn't shorten the video — it creates a gap that viewer attention falls through. The demo section takes the largest share of runtime because that's where trust is built and where most of YouTube's retention signals are generated.
Beat 1: The Hook (0–30 Seconds)
The hook is the only beat where the rule is simple: do not introduce yourself. Do not say "Hey guys, welcome back." Do not explain what the video is about. Those habits all buy the viewer time to decide they'd rather watch something else.
There are three hook formulas that work consistently for affiliate reviews:
- Problem-first: "I wasted $80 on three different noise-canceling headphones before I found the one that actually works in an open office." This hook pulls in anyone who has the same problem.
- Result-first: "I've been using this standing desk for six months, and it's the only thing in my setup I'd replace immediately if it broke." This signals authority and creates curiosity about the product.
- Curiosity: "Three things nobody tells you about the Sony WH-1000XM5 before you buy it." Promises specific, non-obvious information.
All three share a structure: they lead with something the viewer cares about before identifying the product. Under 30 seconds. In practice, the best hooks are 15–20 seconds — enough to plant the question, not enough to answer it. If the first words out of your mouth are your name, cut to something else. The viewer doesn't know your name yet, and they don't need to in order to keep watching.
Beat 2: Quick Credibility (30–60 Seconds)
After the hook earns attention, the viewer's next instinct is to evaluate the source. They want to know: why should I trust this person's opinion on this specific product? That's a fair question, and it needs an answer — but a concise one. This is not the place for a channel introduction, a subscriber count, or a history of your career.
Two sentences is the target. Something like: "I'm a freelance video editor — I've been using this microphone daily for eight months across client calls, voiceovers, and podcast recordings. This review is based on actual production use, not a one-afternoon test." That tells the viewer exactly what's relevant: your use case, your duration of use, and that your opinion is grounded in real-world conditions.
This is also the right place to include your affiliate disclosure, which FTC guidelines require before the affiliate link is encountered: "This video contains affiliate links — if you buy through them I earn a small commission at no extra cost to you." Brief, compliant, and out of the way before the review proper begins.
Beat 3: Product Overview
The product overview gives the viewer the context they need to understand the demo. It covers the basics — what the product is, who it's designed for, key specs, and price point — but it doesn't try to replace the product page. The viewer can read specs on Amazon. What they can't get there is a real-world frame for what those specs mean.
Keep this section tight. Two minutes is enough. Cover: what problem this product solves, the key specs that matter for this use case, what alternatives exist at this price point, and who the manufacturer positions this for. If you're reviewing a $99 budget DSLR lens, the overview includes focal length, aperture range, and the fact that it competes with the Canon 50mm f/1.8 — because the viewer making a purchasing decision needs that comparison to understand the demo they're about to watch.
Resist the temptation to read spec sheets on camera. Summarize in plain English. The viewer who wants the full spec sheet already has the product page open in another tab.
Beat 4: The Hands-On Demo
The demo is the core of the video, and the most expensive section to get wrong. This is where the viewer decides whether to trust the review — and whether to keep watching. It's also where the most watch time is earned or lost, which means it's the section YouTube pays most attention to when deciding where to place the video.
An effective demo has three components. First, show the product in use in a realistic scenario — not on a table with a white background, but in the context where the viewer would actually use it. If you're reviewing a portable espresso maker, show it being used while traveling, not in your studio kitchen. The context is part of the product story.
Second, show the transformation — the before and after, or the problem and the solution. For a noise-canceling headphone review, this means recording actual ambient noise, putting the headphones on, and letting the viewer hear the difference. For a standing desk, it means demonstrating the wobble test, the cable management, and the actual standing-to-sitting transition. Showing the transformation is what separates a demo from a product tour.
Third, use B-roll to cover the parts of the demo that aren't worth watching in real time. If the product takes four minutes to assemble, cover it with assembled B-roll and a voiceover of the relevant observations. B-roll also lets you cover jump cuts when you're trimming dead air — a technique covered more in the editing section below.
This section should take roughly 40% of your total runtime. Cutting it short to "keep the video tight" is the most common mistake in affiliate reviews. Viewers skip the hook — the demo is what they're there for. The more thorough and honest the demo, the longer they stay, and the more credible the verdict becomes.
Beat 5: Honest Pros and Cons
The pros and cons section is where most affiliate review creators self-destruct — not because they're dishonest, but because they're cautious. Listing five pros and one soft con ("the price is a bit high for some budgets") reads as a sales pitch. Viewers recognize it immediately and leave, because they came for a real opinion, not a product endorsement written in review format.
Real cons earn trust. If a mechanical keyboard is genuinely loud, say it's loud and describe under what conditions that becomes a problem. If a supplement has a texture issue, describe it. If a software tool has a steep learning curve, be specific about how steep. A credible negative keeps the viewer engaged through the verdict — because they want to know whether the con is a dealbreaker or just a trade-off they can live with.
⚡ The con test
If your review has zero negative points, viewers won't trust the CTA. Every product has trade-offs. Name the real ones, explain who they matter to, and let the viewer decide. That transparency is what converts skeptical viewers into buyers — because it signals you're not selling, you're informing.
Three to five bullet points on each side is the right depth. For pros, be specific and evidence-based — tie each pro back to something you showed in the demo. For cons, explain the context: who this con matters to, and whether there's a workaround. "The battery life is 8 hours instead of the advertised 10 — which is fine for a single day of use but means you'll need to charge overnight if you rely on it heavily" is a useful con that keeps the viewer in your frame.
Beat 6: The Verdict and CTA
The verdict is the moment the viewer has been building toward. After the hook, the credibility check, the overview, the demo, and the pros and cons, they want a clear answer: should I buy this? The verdict gives them that answer, and then the CTA turns it into a click.
A strong verdict has three parts. First, the recommendation itself — clear and unambiguous. "This is the best budget microphone under $100 for someone recording from home." Or: "If you're a professional who records in variable environments, I'd spend more on the next tier up." No hedging. The viewer has watched eight minutes of your video. They've earned a direct answer.
Second, the who-it's-for and who-should-pass framing. This increases trust (it shows you're not trying to sell to everyone) and actually increases conversions among the right audience. "This is for: home studio creators, podcasters on a budget, anyone upgrading from a built-in laptop mic. Skip it if: you need XLR, you record in a noisy environment without soundproofing."
Third, the affiliate CTA — delivered clearly and visually. Say it out loud: "The link to check pricing is in the description below." Show it on screen with a simple text overlay or animated arrow pointing down. The click doesn't happen if the viewer doesn't know where to click, and a surprising number of affiliate creators deliver the verdict without ever explicitly directing the viewer to the description.
Edit your review videos in minutes, not hours
YapCut handles captions, silence removal, and B-roll insertion automatically — so you can focus on the structure, not the timeline.
Beat 7: End Screen + Chapter Optimization
The end screen is the last 20 seconds of the video, during which YouTube lets you overlay clickable cards to related videos or a subscribe prompt. Most creators use it as an afterthought. Treated correctly, it's an extension of your affiliate strategy — because the viewer who watches your full review is likely to watch a related review, and a viewer who watches two of your reviews is significantly more likely to trust your third affiliate recommendation.
Add a card to your most relevant related review. If the video you just published is a microphone review, the card should link to your audio interface review or your home studio setup guide — not to a random recent upload. The goal is to extend the watch session with content that keeps the viewer in your product ecosystem.
Chapter optimization is equally important. Adding YouTube chapters to your video — timestamps in the description that match your 7 beats — improves search visibility (chapters appear as jump links in search results) and improves the viewing experience for returning viewers who want to skip to the demo or verdict. Use these chapter names:
- 0:00 — Hook
- 0:30 — Quick credibility
- 1:00 — Product overview
- 2:30 — Hands-on demo
- 7:00 — Pros and cons
- 8:30 — Verdict and where to buy
- 9:30 — Related reviews
Finally, pin your affiliate link in the comments within the first hour of publishing. Pinned comments appear at the top of the comment section on desktop and mobile, giving the link a second placement beyond the description.
Editing the Structure Efficiently
Knowing the structure before you film is one thing. Cutting a raw recording into a tight, beat-by-beat video is where most creators lose the time they hoped to save. A few principles make the difference.
First, cut between beats ruthlessly. The transition from the hook to the credibility beat should be nearly invisible — a cut, not a pause, not a "so, let me get into it." Every second of dead air between beats is a second where a viewer can leave. Tighten the seams.
Second, use B-roll to cover jump cuts in the demo section. The demo is the longest beat, and it's the one most likely to have awkward pauses and restated sentences. Drop B-roll — close-ups of the product, screen recordings, environmental shots — over the audio. The viewer hears a continuous narration and sees relevant footage. The cut is invisible.
Third, add chapter markers in the YouTube editor after upload, using the timestamps that match your 7-beat structure. Chapters are indexed by YouTube's search system and can surface your video as a jump-to result when someone searches for a specific part of a product review.
For creators publishing reviews regularly, the editing workload compounds fast. YapCut automates the most time-consuming parts of this process: silence removal between beats, caption generation for the entire video, and B-roll insertion prompts for the demo section. What takes three hours in a traditional timeline editor takes under 30 minutes. See the best video editors for YouTube affiliate creators for a full comparison, or the step-by-step process in our guide on how to edit product review videos.
Key takeaways
- Start with the hook — never your name or a channel intro. You have 30 seconds to earn the next ten minutes.
- Earn credibility in 1–2 sentences: your use case, your duration, your context.
- The hands-on demo is the longest beat and the most important. Don't cut it short — 40% of runtime minimum.
- Real cons build trust. A review with zero negatives reads as a sales pitch.
- Say the CTA out loud and show it on screen — "link in the description below."
- Add YouTube chapters matching your 7 beats. They improve search visibility and UX simultaneously.
- Efficient editing — silence removal, B-roll, captions — makes the structure land and holds watch time.
Frequently asked questions
How long should a YouTube affiliate review video be?
Most affiliate review videos that convert well run between 8 and 15 minutes. Short enough to respect the viewer's time, long enough to cover all 7 beats — especially the hands-on demo, which is where trust is built. Under 5 minutes and you likely can't cover the demo with enough depth. Start at 10–12 minutes and trim from there rather than padding up to a length target.
Should I disclose affiliate links in the video itself or just the description?
Both. FTC guidelines require a clear and conspicuous disclosure before the affiliate link is encountered. That means a verbal disclosure early in the video — ideally in Beat 2 (credibility) — and a written disclosure at the top of the description above the fold. Saying it only in the description is not sufficient if the viewer watches without opening the description.
Does watch time affect affiliate link clicks?
Yes — directly. Viewers who watch less than 50% of a review video rarely click affiliate links, because they haven't seen the verdict. The 7-beat structure is designed to hold viewers through Beat 6 (verdict and CTA), which is the moment the link click happens. Creators who move from an unstructured format to the 7-beat format typically see a meaningful improvement in affiliate link click-through rates, because more viewers reach the point in the video where the link is mentioned.
Can I use this structure for YouTube Shorts affiliate videos?
Not directly — Shorts require a compressed format. The closest adaptation is a 3-beat version: Hook (0–5s), Quick Demo (5–45s), Verdict + CTA (45–60s). Shorts work best as a funnel to a long-form review, not as standalone affiliate vehicles, because there's no clickable link in the video itself. Drive Shorts viewers to the full review via pinned comments or the description link.