How to Edit Product Review Videos (Step-by-Step)
A repeatable editing workflow for affiliate creators: from importing raw footage through rough cut, silence removal, captions, B-roll, music, and platform-specific exports — without spending half your day in a timeline.
Editing is where most product review videos are won or lost. You can film a compelling demo, but if the pace drags, the captions are absent, or the CTA lands at the wrong moment, the video underperforms. The good news: a consistent editing workflow eliminates those variables. Once you have a process that works, each subsequent video gets faster.
This guide walks through every stage of editing a product review video — the decisions, the order to tackle them, and the settings that matter on each platform. It applies whether you're posting a 45-second TikTok Shop demo or a five-minute YouTube review; the steps are the same, only the target lengths change.
Why editing determines conversion
Affiliate video is unusual among content formats: your viewer needs to make a buying decision in the same session they watch your video. That means watch time is tightly coupled to conversion. Viewers who drop off at 15 seconds never see the CTA. Viewers who make it to the end are primed to tap the product link. Every editing decision either extends that watch time or shortens it.
Three editing variables have the biggest impact: pacing (tight cuts keep energy up), captions (they retain muted viewers, who are a large share of mobile audiences), and hook placement (the very first frame determines whether someone scrolls past or pauses). Get those three right and the rest of the edit is refinement.
⚡ Before you start editing
Log your takes before opening your timeline. Note which take had the cleanest hook delivery, which had the best product moment, and which B-roll clips you plan to use. Two minutes of notes saves twenty minutes of scrubbing.
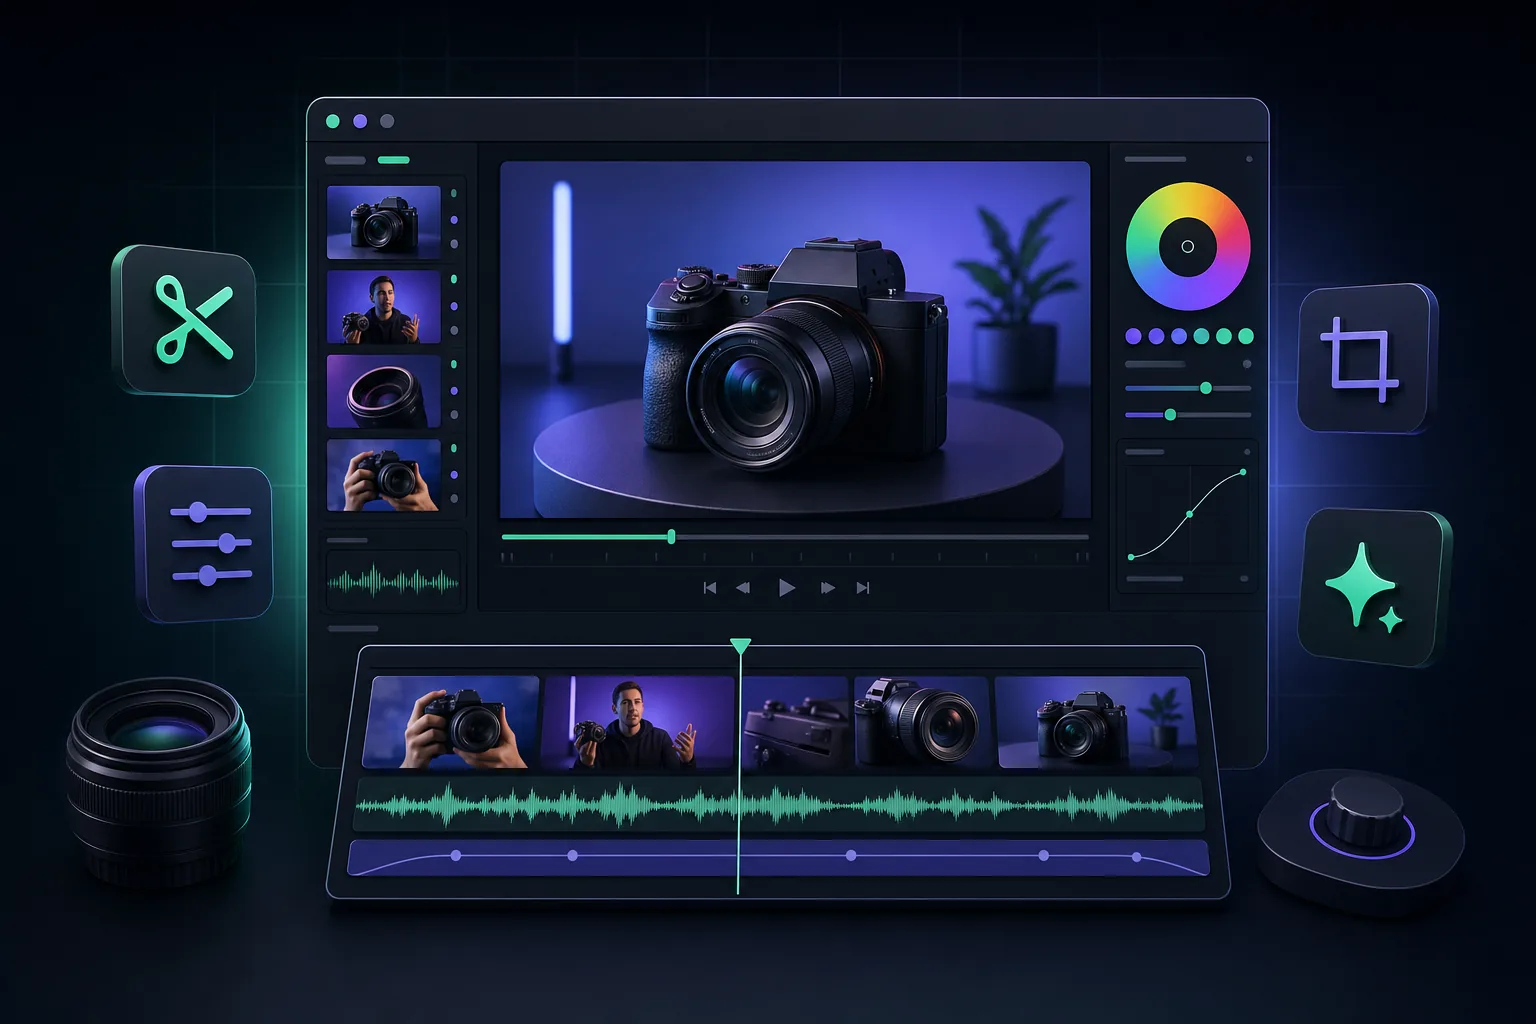
Step 1: Import and organize your footage
Bring all your clips into your editing tool before making a single cut. Label your main talking-head footage, your B-roll, any screen recordings, and any product manufacturer footage you have the rights to use. A clear bin structure — even just three folders named "talking head," "B-roll," and "extras" — prevents the disorienting mid-edit search for a specific clip.
Check your footage quality at this stage. If any clip has blown-out exposure, bad audio, or motion blur on the product, flag it now. It's faster to refilm one clip today than to discover the problem when you're color-grading at the end.
File naming convention that scales
A simple naming pattern like YYYYMMDD-product-take-XX lets you sort chronologically and identify takes quickly. When you're posting multiple products a week, consistent naming keeps projects from becoming unmanageable.
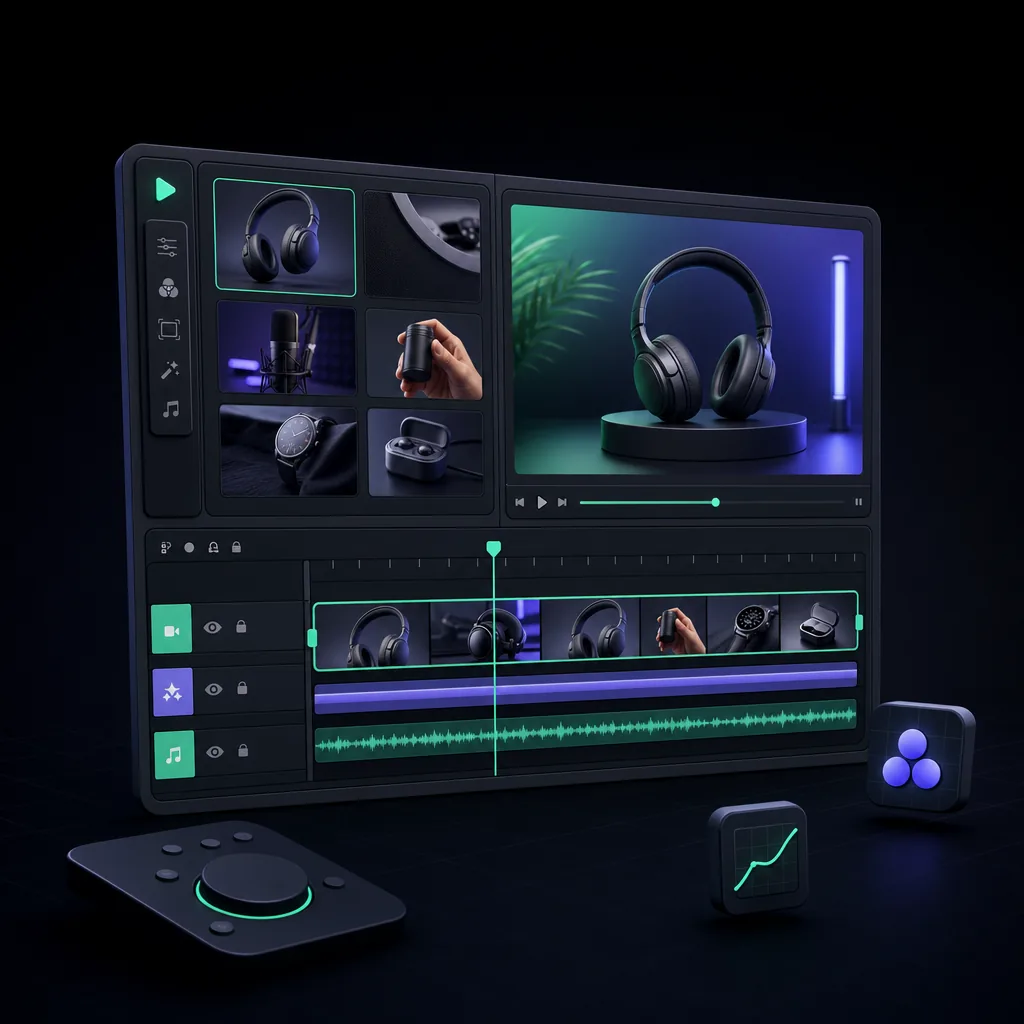
Step 2: Build the rough cut
The rough cut is your first pass at structure. Lay down your best take of the main video in order — hook, problem or context, product demo, CTA — without worrying about tightening anything yet. The goal is to establish the skeleton. If you have a scripted outline, this is where you verify that your footage actually follows it.
At this stage, cut out obviously unusable sections: a false start before you landed the hook, a long fumble with the product, any dead seconds while you waited for something to happen. Everything else stays in for now. This pass typically brings a five-minute talking-head recording down to around two to three minutes before you've done any real tightening.
For the hook: use your single best delivery. If you filmed two or three versions of the opening line, drop each one on the timeline and watch them back-to-back. Pick the one where energy, clarity, and facial expression are all working simultaneously. This is the frame that decides whether someone scrolls on.
Step 3: Pacing and silence removal
Pacing is the element viewers feel without consciously noticing. A video with good pacing seems effortless; one with poor pacing feels slow even if the content is interesting. For product review content, tight pacing signals confidence — you're not wasting the viewer's time.
Go through your rough cut and remove every long pause, every "um" and "uh," every section where you were thinking out loud. The standard is no more than a beat of silence between sentences, and no filler words at all. On a manual timeline, this is the most tedious part of the edit. Audio waveform view helps: silences appear as flat lines, making them fast to identify and cut.
If you're editing in YapCut, silence and filler removal happens automatically after you upload your footage — the tool transcribes the audio and strips out the gaps without you touching a timeline. That alone converts a 30-minute rough-cut session into a two-minute task for a typical affiliate video. You can still review and restore anything it removed before exporting.
Pacing targets by platform
| Platform | Target length | Max pause between cuts |
|---|---|---|
| TikTok Shop | 30–60 seconds | 0.3 seconds |
| Instagram Reels | 30–90 seconds | 0.3–0.5 seconds |
| YouTube Shorts | 45–59 seconds | 0.3 seconds |
| YouTube (long-form) | 4–12 minutes | 0.5–1 second |
Step 4: Add captions
Captions are not optional for affiliate video. A significant portion of mobile viewers — across all three major platforms — watch without sound, especially in public or when sound would be intrusive. Uncaptioned videos lose those viewers entirely at the first frame.
Beyond accessibility, captions increase the visual density of your video, which helps with the perception of pace and makes it easier for the algorithm to understand your content. Style matters too: large, high-contrast text positioned in the upper two-thirds of the frame (clear of product links and navigation UI at the bottom) performs better than small, thin captions that viewers have to squint to read.
For the full caption workflow — including styling, placement, language options, and accuracy fixes — see our guide to adding captions to product videos automatically.
Caption placement by platform
TikTok places the product anchor and action buttons in the bottom 20% of the frame. Instagram Reels places the caption and hashtag bar at the bottom. Keep your text captions in the upper or middle zone of the vertical frame so they're never obscured by native platform UI.
Edit affiliate videos in minutes, not hours
YapCut turns raw clips into captioned, hook-ready affiliate videos — built for TikTok Shop, Instagram, and YouTube creators.
Step 5: Add B-roll and visual variety
B-roll does two things: it hides the cuts between talking-head takes (so the edit feels seamless), and it shows the product in a way that talking alone cannot. Close-up shots of a product's texture, a feature being pressed or activated, or a before-and-after comparison all reinforce your verbal claims with visual evidence — which is the most persuasive form of affiliate content.
The basic rule is to cut to B-roll whenever you make a claim about the product. If you say "the bristles reach corners a standard brush misses," cut to a close-up showing exactly that. Viewers who see the evidence while hearing the claim retain and believe it more than viewers who only hear it.
For a dedicated deep-dive on sourcing and placing B-roll effectively, see our article on how to add B-roll to product and affiliate videos.
How much B-roll is enough?
For a 45-second short-form review, aim to have B-roll covering at least 40% of the total duration — that's about 18 seconds. For a longer YouTube review, cover each key claim section with at least one B-roll insert. Shoot more than you think you'll need; unused B-roll costs nothing.
Step 6: Music and audio mix
Background music sets the emotional tone and fills the audio gaps that silence removal creates. For affiliate product videos, the standard approach is a royalty-free instrumental track at 15–20% of your voice volume — present but never distracting. The voice must be clearly intelligible above the music at all times.
Use only royalty-free or licensed tracks. TikTok, YouTube, and Instagram all have content ID systems that can mute or flag a video with unlicensed music, which kills its reach. TikTok's commercial sounds library, YouTube Audio Library, and third-party services like Epidemic Sound provide safe options.
Audio mix checklist before export:
- Voice peaks at roughly -6 dBFS, no clipping.
- Music sits 15–20% under the voice in the mix.
- No jarring cuts where background ambient sound changes suddenly — use a short crossfade.
- If you have a product sound moment (the "click" of a feature, water sound, etc.), bring that up briefly — it adds authenticity.
Step 7: Place the on-screen CTA
Your call-to-action needs to appear both verbally and visually. Saying "tap the link" is not enough — viewers need a visual cue that confirms where to look. On TikTok Shop, the product link anchor appears automatically, but you can still use text overlay or an animated arrow pointing toward the bottom product card to direct attention. On Instagram and YouTube, an on-screen text card near the end of the video ("Link below") supplements your verbal CTA.
Timing: place the CTA in the final 10–15% of the video, after the demo has landed. A CTA too early in the video — before the viewer has seen the product working — underperforms because there's no buying motivation yet. A strong hook and a useful demo earn the CTA; don't place it before you've earned it.
For the verbal side of the CTA, you want specificity. "Tap the orange cart" outperforms "check it out below." "Use code SAVE10 for 10% off — today only" outperforms "there's a discount available." Specific, time-aware language converts better than vague directions.
Step 8: Export specs by platform
Exporting at the wrong settings can degrade quality after the platform re-encodes your video. These settings give you the cleanest result post-upload compression:
| Platform | Resolution | Codec | FPS | Bitrate |
|---|---|---|---|---|
| TikTok | 1080×1920 | H.264 | 30 | ≥15 Mbps |
| Instagram Reels | 1080×1920 | H.264 | 30 | ≥15 Mbps |
| YouTube Shorts | 1080×1920 | H.264/H.265 | 30 | ≥15 Mbps |
| YouTube (long) | 1920×1080 | H.264/H.265 | 30 or 60 | ≥20 Mbps |
Audio: AAC, 192 kbps minimum, stereo. Keep your master export file; if a platform rolls out a new format recommendation later, you export again from the master rather than re-editing.
Before uploading, play back the exported file on a phone. Phone screens reveal compression artifacts and caption readability issues that desktop monitors often hide. If captions look small or blurry, bump up the font size and re-export — it's a five-minute fix now, or a lost video later.
One edit, multiple platform exports
If you're posting the same review to TikTok Shop, Instagram, and YouTube Shorts, you don't need to re-edit the whole video — just adjust the export settings and check that captions are clear at each resolution. YapCut can export to platform-specific presets directly, removing the need to manage those settings manually for each upload.
For a complete walkthrough of the full affiliate video production process from filming through publishing, see our guide on how to make TikTok Shop affiliate videos. For the hook specifically — the piece of the edit that determines whether viewers stay — see best hooks for product videos.
Key takeaways
- Edit in order: organize, rough cut, pacing, captions, B-roll, music, CTA, export. Don't skip steps.
- Silence removal has the biggest single impact on perceived pacing and watch time.
- Captions are mandatory — a large share of viewers watch on mute, especially on mobile.
- Place B-roll whenever you make a product claim. Seeing and hearing is more convincing than hearing alone.
- Keep the CTA specific ("tap the orange cart") and place it after the demo, not before.
- Export at 1080p H.264 at 15+ Mbps for all short-form platforms. Review on a phone before uploading.
Frequently asked questions
How long should a product review video be?
It depends on the platform. TikTok Shop and Instagram Reels work best at 30–60 seconds. YouTube review videos convert well at 4–10 minutes when they follow a tight structure. The rule is: as short as the content demands, never longer.
Do I need captions on every product review video?
Yes. A large proportion of viewers on TikTok and Instagram watch with sound off. Captions keep those viewers engaged and improve watch time, which helps distribution. Auto-caption tools like YapCut make this step fast.
What B-roll should I film for a product review?
Capture the product from multiple angles, close-ups of key features, before-and-after shots, and hands-on use. Even 30 extra seconds of B-roll gives you enough material to cover every cut in the talking-head footage.
What export settings should I use for TikTok and Instagram?
Export at 1080×1920 (9:16), H.264, 30fps, at least 15 Mbps bitrate, with AAC audio at 192kbps. Both platforms re-encode on upload; starting high quality gives you the cleanest result post-compression.
How do I speed up my editing workflow?
The biggest time saves come from auto-transcription (edit by text instead of scrubbing), automatic silence removal, and templated caption styles you reuse across videos. Tools like YapCut handle all three, which is why many affiliates report cutting their per-video edit time significantly.